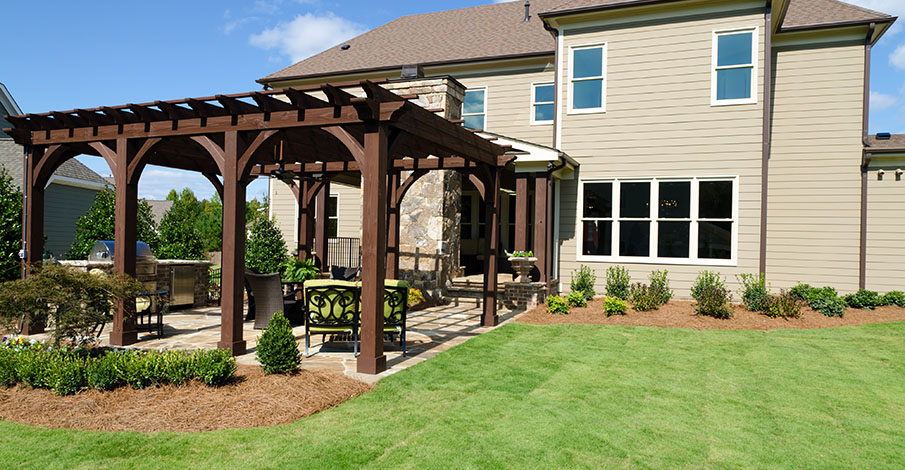
A stone patio and outdoor kitchen are excellent options for homeowners looking for something elegant and requires close to zero maintenance. However, laying down a stone patio requires a bit of skill and technique. In this article, we are going to discuss the process of laying down a stone patio that will help beginners install the patio of their dreams without requiring patio contractors. Let’s begin!
Step 1: Lay Down A Plan
The first step of the process is to lay down a plan. Grab a graph paper to stagger the joints, minimize cuts and estimate the amount of material you are going to need. Additionally, if you have some debris lying around in the area, contact your local garbage disposal authorities to come to pick them up. Then, prepare and level the area.
Furthermore, thoroughly inspect the area for water, phone, or electric lines and spray paint the points. And if you are living in a region where the ground freezes or drains poorly, you will need to dig at least 12 inches to save your new patio from frost. However, if you are living in mild climates, you should dig at least 6 inches since the soil is going to be relatively sandy and drains well.
Step 2: Add Landscape Fabric To Patio Base
Before adding landscape fabric to the patio base, you will need to remove the existing sod using a sharp garden spade shovel. You will need to put in a sufficient amount of effort to get rid of all the sod. And once you are done removing, use a tamper to compact the dirt.
Next, use a landscape fabric to line the excavated area. Then, cut the fabric to fit. Even though it is not a necessary step of the process, it will help you deal with the weeds as they can sprout between the patio stones later down the road.
Step 3: Build A Patio Base Of Gravel And Sand
Moving further, build a patio base of both gravel and sand by forming a 6-inch layer over the entire patio area. If you are using limestone material, use a garden hose to slightly dampen the material. Then, use a tamper to create a firm base. However, if you are using gravel, use a plate compactor or tamper to come up with a smooth surface for your patio.
Step 4: Place Stones On the Patio
Begin placing stones from one side of the patio. To create a nearly level surface, you should add sand underneath the stone. Make sure to place the stones as close as possible to each other to prevent weeds from sprouting. If there are large gaps between the stones, you will need to put up with regular weed removal. Therefore, make sure that you opt for the right stone size.
Step 5: Top Patio With Sand
Once the stones are placed, use and spread a polymeric seal over the patio. Grab a stiff broom and sweep the sand over the stones until the cracks are filled. Next, use a leaf blower to remove the excess sand but at a low speed. Use the garden hose to spread a fine mist over the sand for it to sink in. Keep in mind that you will need to repeat the process of adding, sweeping, and damping the sand for about a week to come up with a durable finish.
Step 6: Maintaining Your DIY Patio
The last step of the process is maintaining your patio. Place some tables and seats to decorate your newly built patio, and if you notice the stones begin shifting or wobbling, add sand to fill the cracks. Wash and clean the stones at least once a month to prevent permanent stains. This will help keep your patio looking as good as new for years to come.
Conclusion
Laying down a stone patio for beginners can be slightly tricky in the beginning. However, following the tips mentioned above, you shouldn’t have a problem achieving success the first time. Make some room for mistakes as well, as that is part of the process. Look for a hardscaping company Port Jefferson if the instructions are confusing. And remember, your stone patio will only look good as long as you regularly maintain it.


